When you think of Copenhagen, smoked fish and bike lanes might come to mind. But in the fitness world, it’s the name of a challenging side plank variation.
A Copenhagen plank is a static bodyweight hold where “the top leg is elevated on a bench or chair while the lower leg remains suspended or lightly supported beneath it,” explains Meredith Witte, CSCS, owner and founder of The Playground. “This setup is a great way to challenge the inner thigh (adductor) muscles” as well as your obliques, and it has a ton of benefits for strengthening your stability and preventing injuries.
Meet the experts: Meredith Witte, CSCS, is the owner and founder of The Playground. Justin Kraft, NASM-CPT, is the founder of Aspire 2 More Fitness.
Consider this your complete guide to how to do a Copenhagen plank, its benefits, and the best way to slot it into your workout routine.
How To Do A Copenhagen Plank
How to:
- Start in a side plank position and rest top calf on a bench, chair, couch, or other sturdy knee-height prop.
- Press into top leg and bottom forearm and engage core, glutes, and inner thigh to lift hips and bottom leg off the floor. Keep shoulders, hips, and knees in one straight line. (For a modification, leave bottom leg on the floor. To make it more challenging, rest top ankle on the bench instead of calf.)
- Hold for 10 to 30 seconds, then lower hips back down to the floor with control. Repeat on other side.
Muscles Worked During A Copenhagen Plank
- Adductors
- Obliques
- Transverse abdominis
- Gluteus medius
- Rotator cuff
Benefits Of A Copenhagen Plank
- It strengthens the anterior oblique fascial sling. This system of muscular and fascial connections “runs diagonally across the body, linking the adductors and obliques,” Witte says. “This sling plays a key role in rotation, pelvic stability, and force transfer between the upper and lower body, making it essential for dynamic movement, balance, and injury prevention.”
- It improves your stability. This is especially true when it comes to hip stability, Witte says. A 2021 study in Sports Health found that athletes who regularly performed Copenhagen planks and Nordic hamstring curls (or Copenhagen planks alone) over six weeks improved their stability in comparison to the control group, who practiced neither exercise.
- It primes you for other exercises. The Copenhagen plank strengthens your obliques, glutes, and deep core muscles, which can result in better balance and more control during workouts, says Justin Kraft, NASM-CPT, the founder of Aspire 2 More Fitness. By improving your strength, balance, and control, you’ll be prepared to take on heavy squats and lunges, he says.
- It helps lower your risk of injury. “Copenhagen planks seriously boost adductor strength, which helps prevent groin injuries,” Kraft says. So, whether you’re a runner, weightlifter, tennis player, or skier, this move can help you level up your game.
Want more workout advice? Join Women’s Health+ today for member-exclusive workout and meal plans.
Common Mistakes During A Copenhagen Plank
The key to maximizing benefits from the Copenhagen plank (and avoid injury) is to dial in on your form. These are some common mistakes to avoid, according to Kraft:
- Letting the hips drop. As with a regular side plank, your hips should remain in line with your shoulders and feet. If you lose that straight line and your hips sag so your body forms more of a banana shape, you’re not engaging your core muscles.
- Shrugging your shoulders. Press your shoulders down and away from your ears so those muscles are engaged.
- Having your bottom leg do all the work. Even if you leave your bottom leg on the floor because you can’t hover it off the floor yet, you should still press against the bench with your top leg so you engage your inner thigh.
- Advancing before you’re ready (and using poor form). It’s better to hold the plank for less time or simplify the move with modifications than to wobble around during the exercise.
How To Add A Copenhagen Plank Into Your Workout Routine
The Copenhagen plank can be a quick add-on to your workouts two or three times per week. “You can toss it into a core circuit or at the end of leg day,” Kraft says.
If you’re a newbie to this move, try two to three rounds of 10 to 15 seconds per side, then build to 30 to 45 seconds, Kraft says. Once that starts to feel easy, increase the duration beyond 45 seconds.
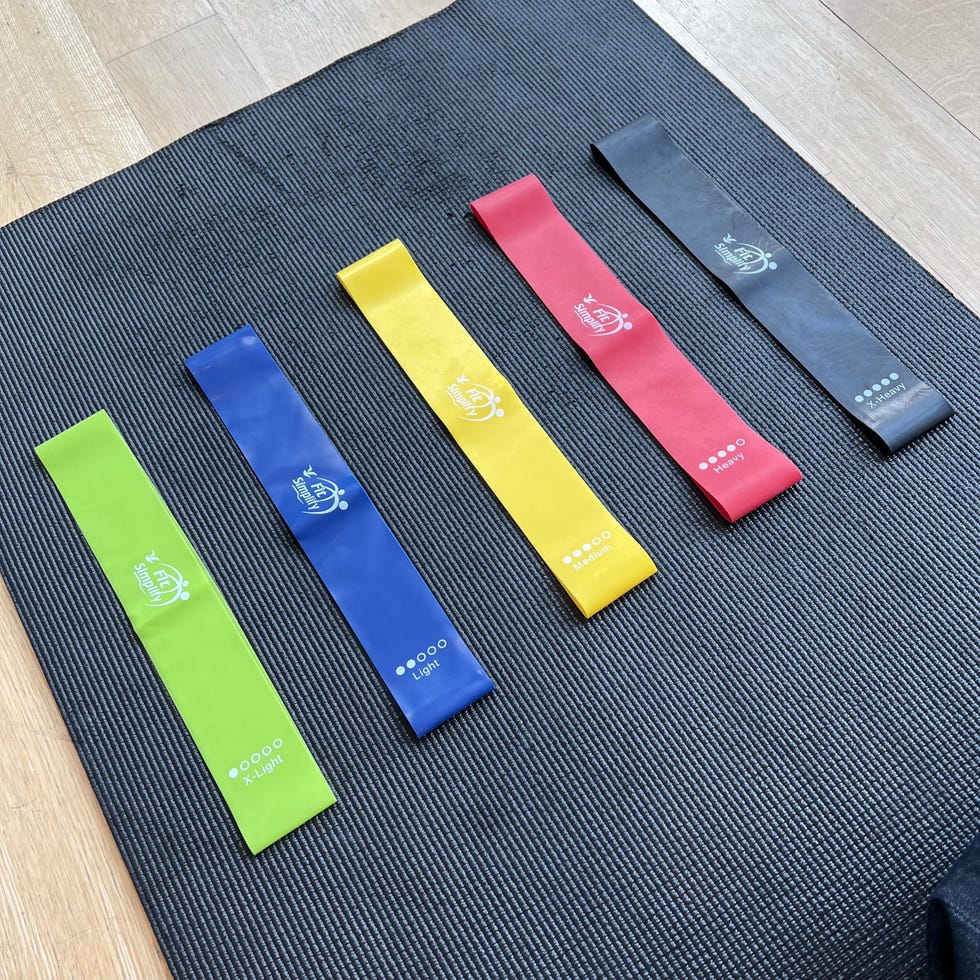
To make the move even more challenging, try a dynamic version where you lift and lower your bottom leg off the floor, loop a resistance band around your shins and perform the leg lifts, or put a band around your feet and repeatedly pull your knee toward your chest, Kraft says. “The latter activates your hip flexors in addition to your stabilizing adductors,” he adds.
Any way you decide to try the Copenhagen plank, you’ll get an awesome workout in and become even stronger.

Renee Cherry is a New York-based writer and editor specializing in beauty, health, fitness, and nutrition. She earned a B.S. in journalism with a specialization in fashion in beauty communications from the S.I. Newhouse School of Public Communications at Syracuse University. She completed internships at Cosmopolitan and Shape.com before taking a full time position at Shape as a digital writer/producer. Renee spent the next six years working at Shape.com, most recently as the brand’s associate editor, before transitioning to freelance work.
Read the full article here


